
These scones are the best. Like… really. The best. And I should know. I love scones… I can’t resist them. Call me the eternal optimist because despite the fact that scones are either really good or really bad, I’m always convinced that the one I just purchased is going to be great. Whether it’s from the coffee shop or the dessert place around the corner, I always get suckered in. Needless to say, I’ve tried a lot of them. Bad scones can be dry, and hard, and… well… bad. They require large amounts of liquid to be consumed so as to avoid inhaling the dry, crumbly bits. Otherwise, you end up choking on said crumbly bits and they come spewing from your gasping mouth…
Not that I would know…
But don’t worry! These scones will absolutely NOT cause your life to flash before your eyes. They’ll do whatever the opposite of that is because they are awesome. So you have to make them. Plus, my sister developed this recipe and she’s a genius, so now you doubly have to make them. Boom.
So let’s do it. Here’s what you’ll need —
- 2 cups (240g) all purpose flour
- 1/4 (50g) cup sugar
- 1 1/4 tsp. baking powder
- 1/4 tsp. baking soda
- 1/4 tsp. salt
- 1/2 cup (1 stick, 115g) cold butter*
- 1/2 cup (90g) chocolate chips or chunks
- 1 tsp. vanilla
- 2/3 cup buttermilk**
- Egg wash (1 tbsp. milk + 1 beaten egg)
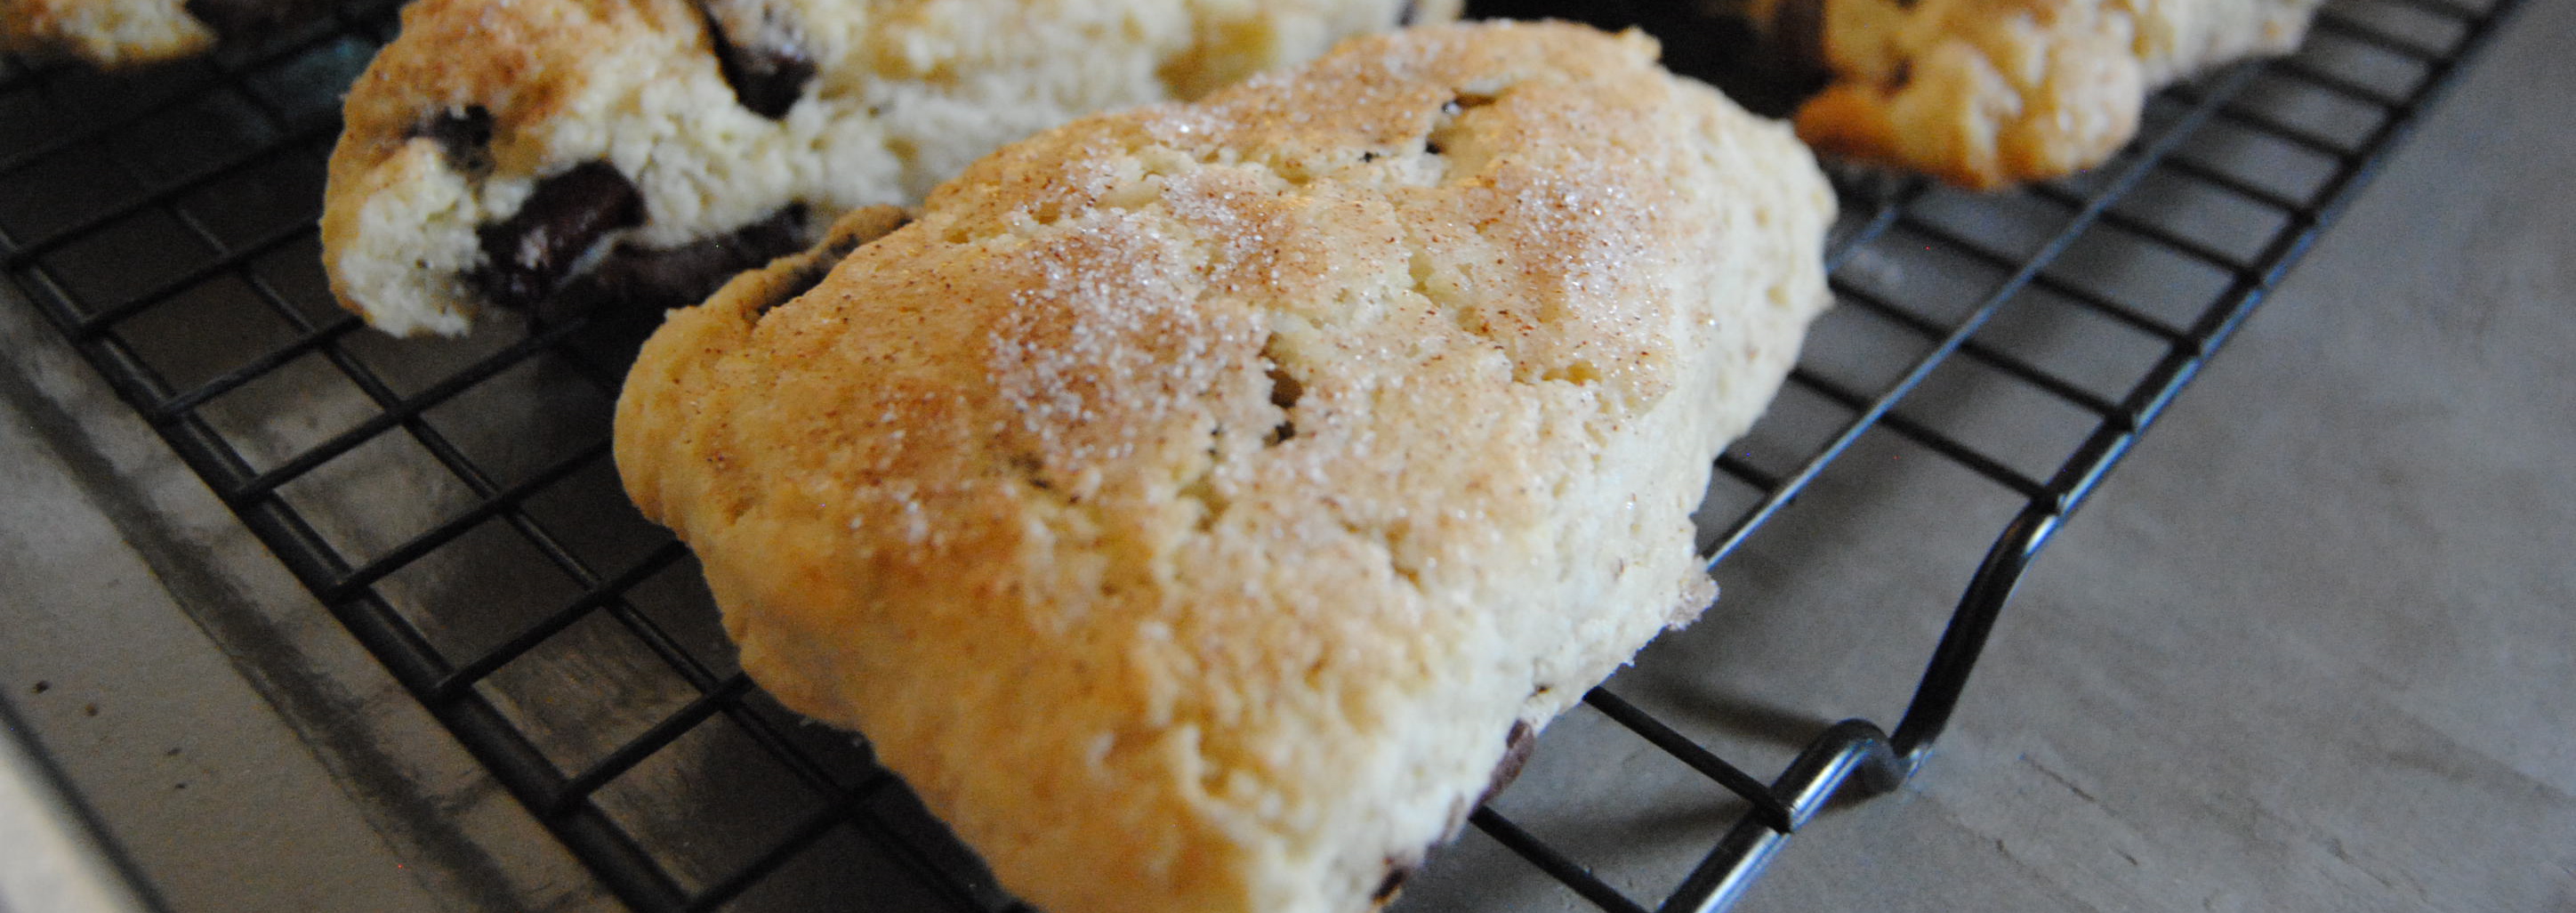
- Topping (2 tbsp. sugar + 1/4 tsp. cinnamon)
Yield — 8 scones
* A note on butter — Depending on what you’re making, recipes often call for butter to be a specific temperature. It’s always wise to heed those instructions. When making pastries, like scones and biscuits, butter needs to be as cold as possible because when it melts in the oven it creates steam, which makes nice flaky layers. So, minimize the time you have it sitting out and how much you work with it. I really try not to touch it with my hands at all, if possible. If you’re a little type A, like me, you might like to get all your ingredients set out or even measured before you start. Don’t do that with butter. Leave it in the coldest part of the fridge until you need it. And once you start cutting it in don’t stop to do something else. Finish quickly, without overworking the dough, and you will be rewarded with flaky, yummy pastries every time!
** A note on buttermilk — I never have buttermilk. Never. I refuse to buy it because I never use it all and it annoys me. You can easily substitute regular milk (I always have whole) plus an acid, like lemon juice or vinegar. The standard is one cup milk to one tablespoon acid, let it stand for 5-10 minutes. Since you don’t need a whole cup of milk for this recipe, I use 2/3 cup milk and then I approximate 2/3 tablespoon of acid. Don’t fret. It’s not rocket science. That being said, if you’d rather use good old fashioned buttermilk, be my guest!
- Preheat oven to 400F. In a large bowl, whisk together the flour, sugar, baking powder, baking soda, and salt. Stirring is Piper’s favorite task (aside from tasting).
- In a small bowl, combine buttermilk (or substitute) and vanilla. Set aside.
- Prepare the topping and egg wash to avoid leaving the scones on the counter longer than necessary.
- Get out the butter (since it definitely wasn’t already sitting on the counter), slice it into rough tablespoons and toss it into the large bowl with the dry ingredients. Cut in using a pastry cutter (or two forks). Try to resist overworking the dough. Remember, you want to get this done as quickly and efficiently as possible. Shoot for pea sized butter pieces.
- Once you’re finished, stir in the chocolate chips. Add buttermilk mixture and stir just enough to make the dough come together.
- Dump onto a floured surface and knead 4 or 5 times. Pat dough into a circle approximately 7 inches wide, 1 1/2 inches thick. Cut into 8 wedges and place onto a parchment lined baking sheet.
- Use a pastry brush to apply egg wash, then sprinkle each scone with a decent amount of the cinnamon / sugar topping.
- Bake for 13-15 minutes.
Let them sit on the cookie sheet for a few minutes before moving them to a cooling rack. If you have will power, you can wait until they settle to room temperature before digging in. We don’t. #noregrets


These will keep for 2-3 days if stored in an airtight container at room temperature. Not that you’ll have to worry about it. Trust me, they won’t last that long. Let me know if you try these! I hope you love them as much as we do!
Cheers!

Yum! I love those scones & I’ve had a craving for them. I’ve started buying buttermilk & freezing it. Works perfectly! I only use it for these scones & pancakes.
LikeLike
You’re a genius. I never thought of freezing it! Duh!!!
LikeLike